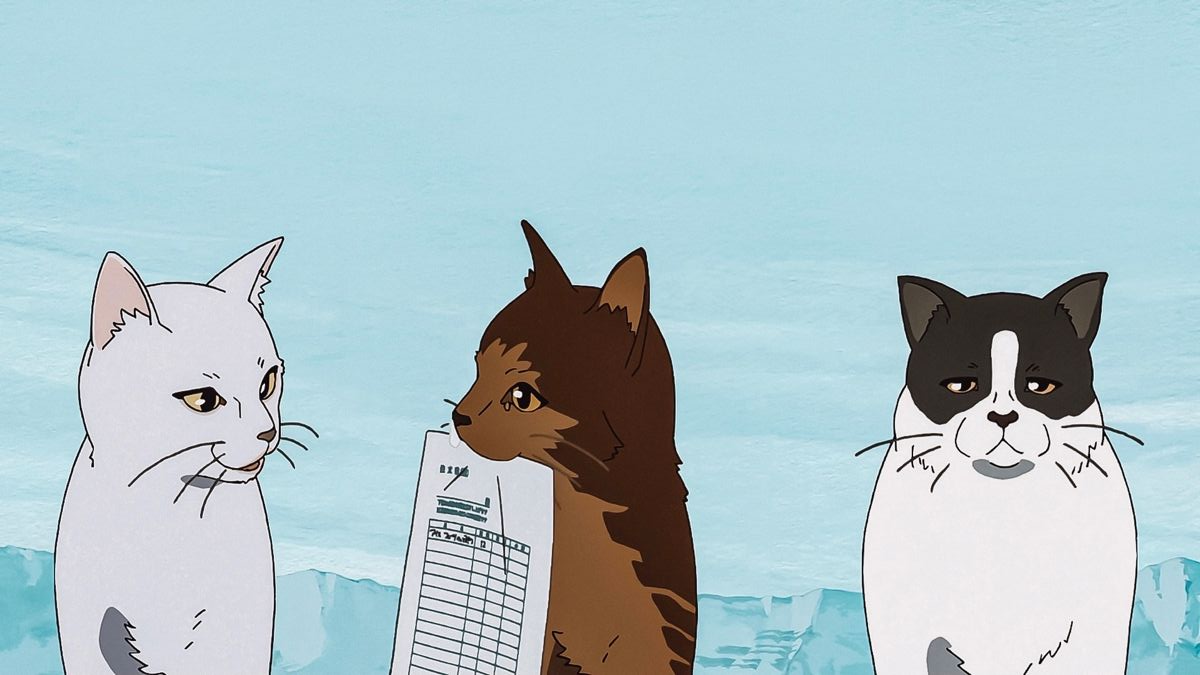
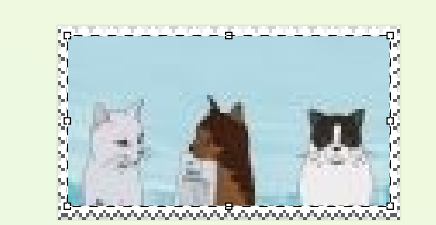
For this tutorial, I will be using this image:
(Note: this guide was written 10/18/2025 for Windows 11 computers. If you have a Mac, that's your own fault. If you have a different version of Windows, then hello from the past.)
This is the easiest part. Just about any image will work as long as it can handle being shrunk to small sizes (meaning it's not too busy/reliant on small details, etc.)
For this tutorial, I will be using this image:
This involves two steps:
1. Set the width to 93 pixels (or whatever the inner width of your preferred stamp template is) and save the image. You can technically also do this during the MS paint step, but the quality will turn out much better if you do this now. 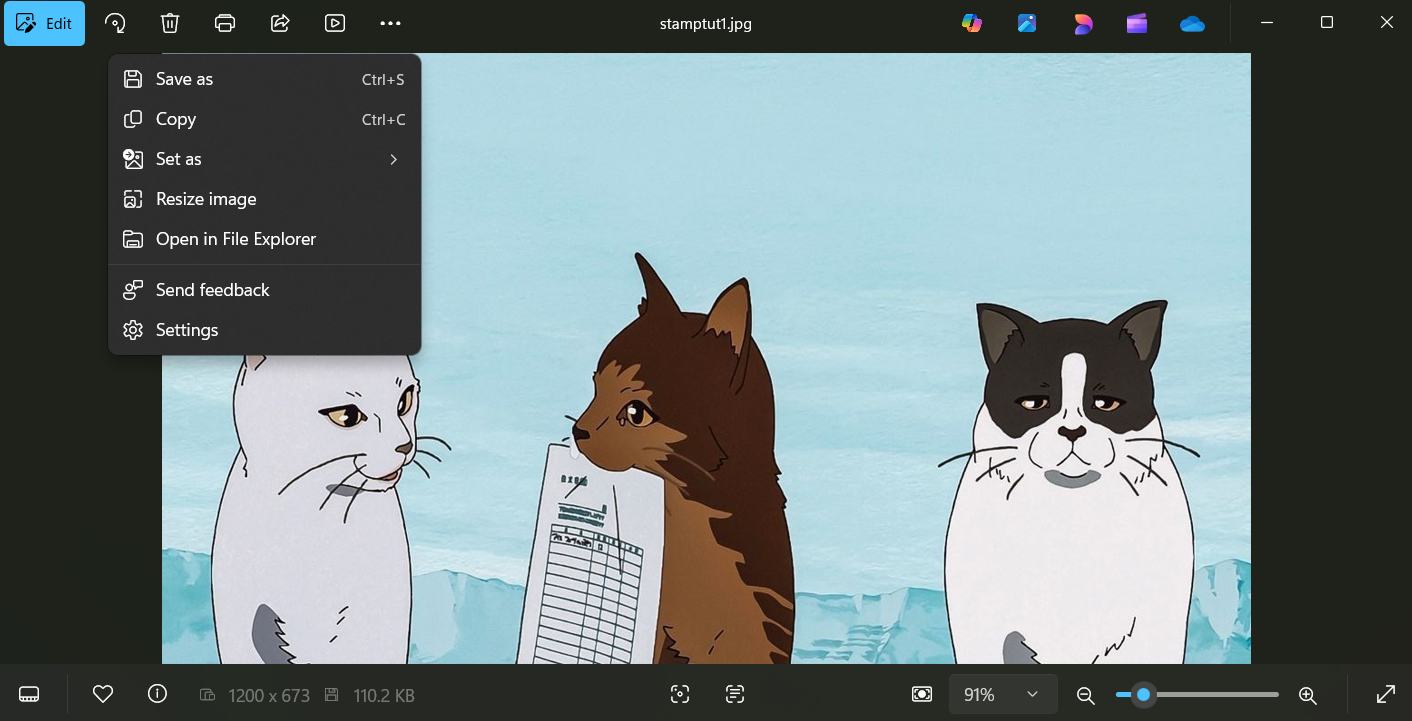
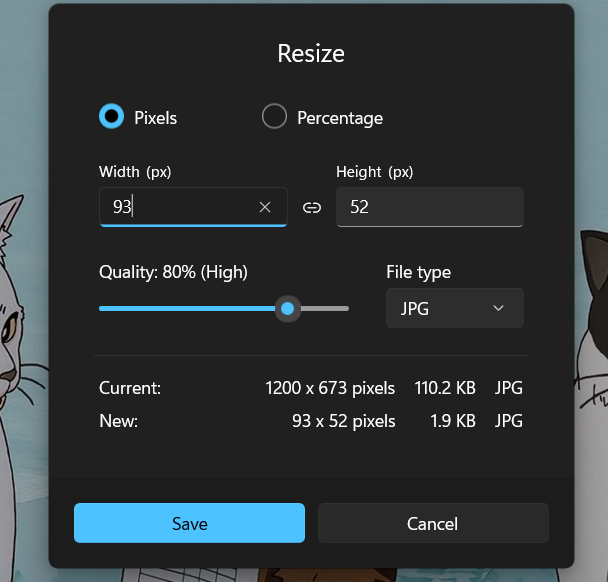
The image should now be significantly less-defined. You may need to re-enter the files app and open the image again for the change to show.
2. Enter the "Edit" menu and crop the image so that the height is 49 pixels (again, this may vary depending on the stamp template you plan to use). 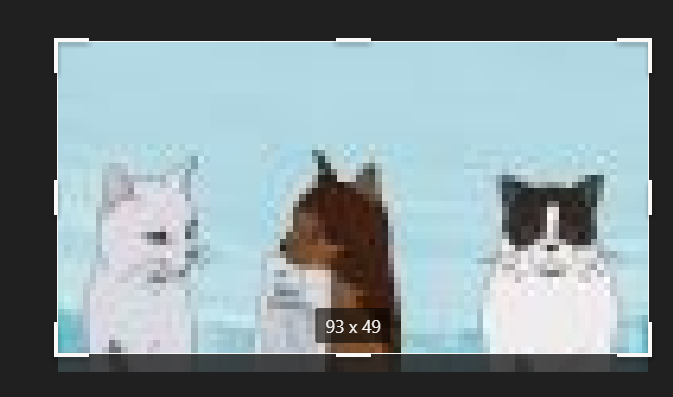
This is where you will need to have your stamp template ready. I like to use this one (which the dimensions given in this tutorial are based on). Once you have downloaded your chosen template, right-click the file and open it in MS Paint. 
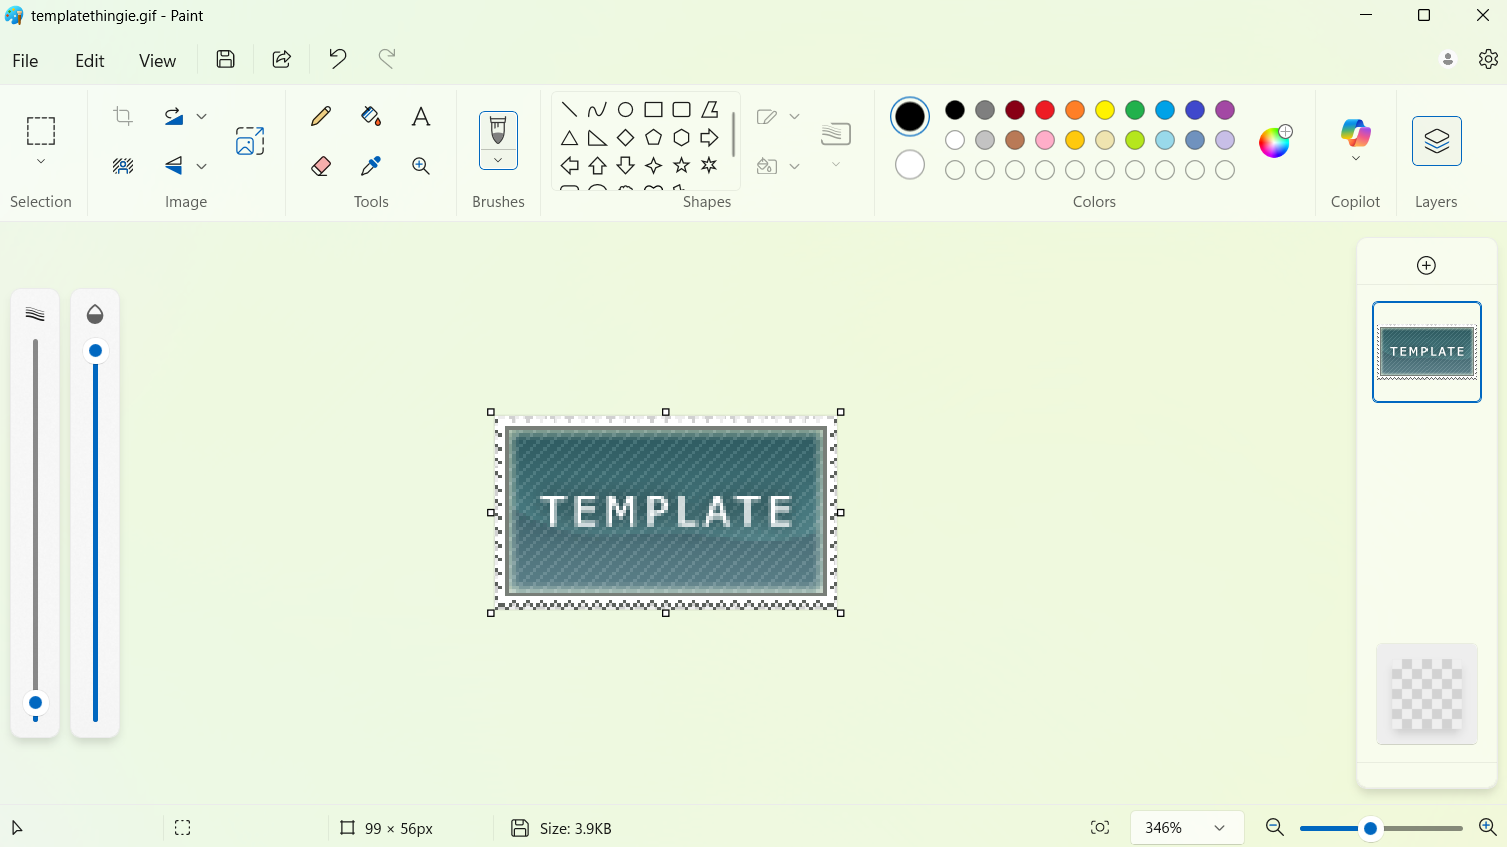
Open the "Layers" menu and click the background layer to hide it (this way you can have a transparent background on your finished product). Add a new layer for your image. 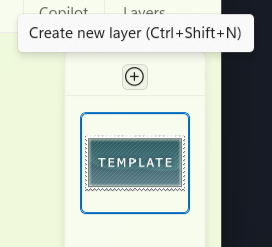
In the "File" menu, select "Import to canvas" and choose your image from your files. It should then appear and you can drag it to the center of your stamp frame without needing to resize it. 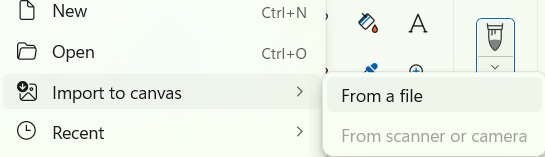
If everything has gone right, you should now have a proper stamp, and the last thing to do is save it. In the "File" menu choose "Save as" and select the option to save your file as either a png or a gif (this is important to maintain the transparent background). 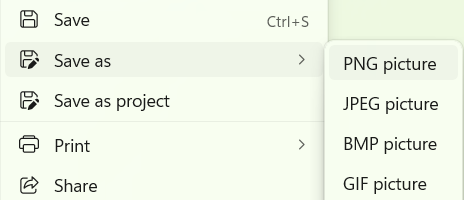
Paint may bother you and tell you that you are saving it as a flat image, but select "Continue" if you are making just this one stamp. (If you are making multiple stamps I would suggest saving the file first as a .paint and then saving the stamp itself because the .paint file already existing will make the setup much quicker for subsequent stamps). 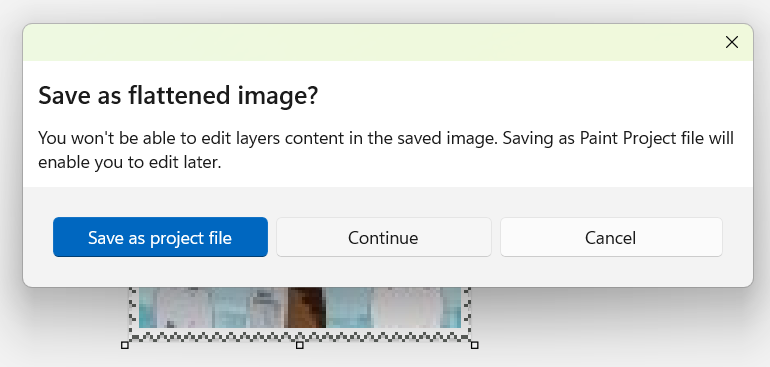
See, now the internet has one more stamp. You did it!
